Step 1
Close the tap or angle valves under the washbasin or sink. It is best to always have a cloth to hand in case water leaks when repairing the tap.
Step 2
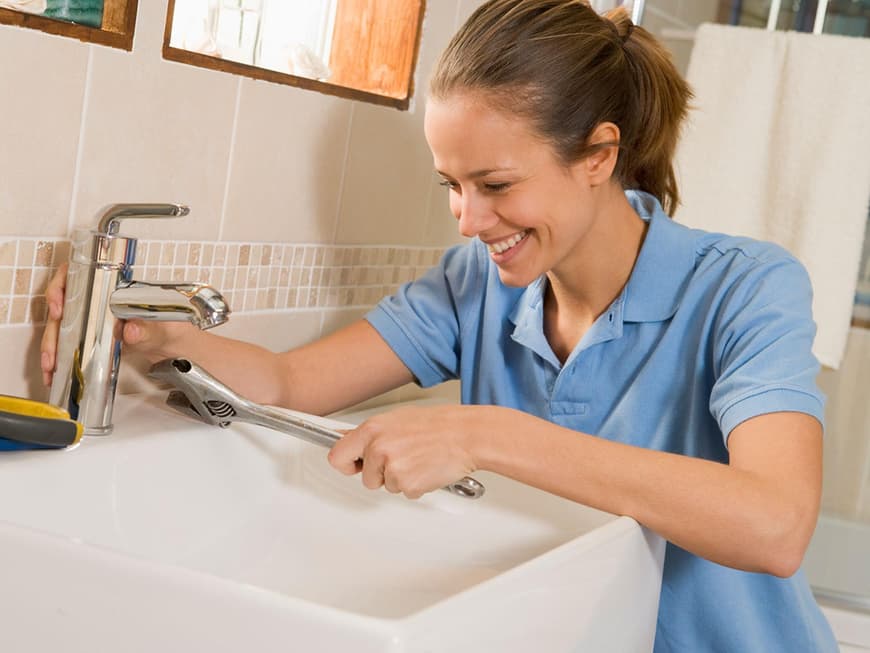
Remove the handle from the tap and use a wrench to loosen the upper part of the valve. The seal in a brass mold is located at the lower end. To remove it, you may need to remove another screw, depending on the model.
Step 3
Remove the seal and remove any limescale and dirt. If necessary, also remove any limescale residue from the valve, preferably using a special limescale remover from a DIY store.
Step 4
Insert a new suitable seal (buy from a DIY store, take the old one with you as a sample) and reassemble everything. When reassembling, rub the threads with a little tap grease (from the DIY store) to keep them supple.
Step 5
Extra tip: If the tap is stuck, pour sparkling water over it. The carbon dioxide dissolves rust. After 10 minutes, carefully tap the tap handle with a rubber mallet until it can be turned on again.
