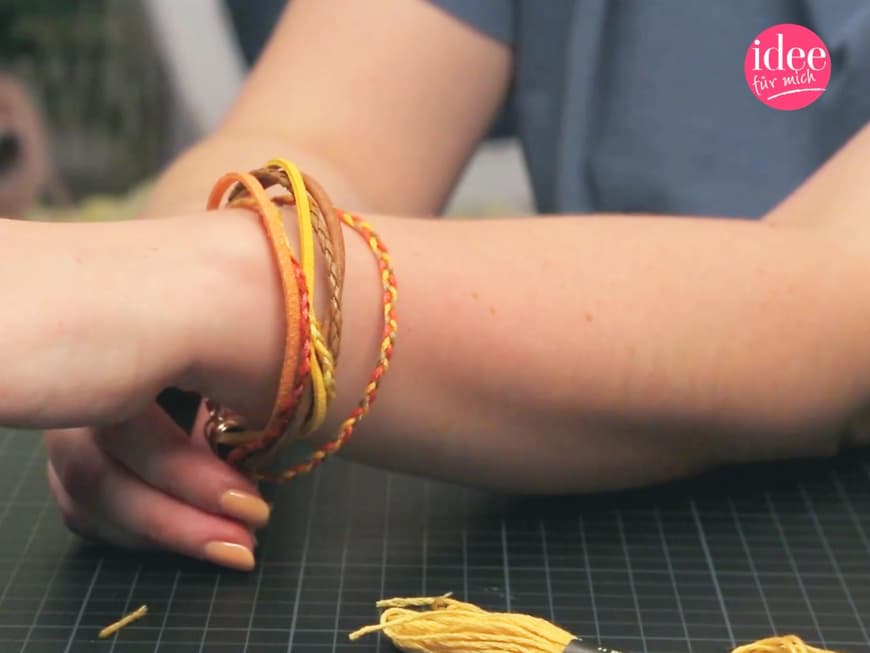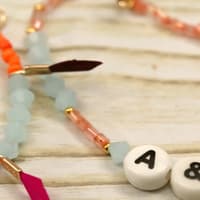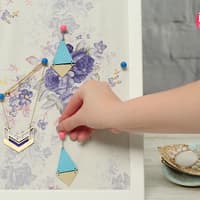
There is hardly anything better than making your own jewelry. So many colors, shapes and variations make designing bracelets a fun and successful crafting experience. Whether as a gift for a dear friend or to treat yourself, making your own bracelets is very easy.
You will need
- Embroidery thread in different colors
- Leather ribbon
- Satin or silk ribbon
- Jewelry glue
- End cap clasp with chain
Design a bracelet: This is how it works
- Place the yarn around your wrist to measure the correct length. Knot three pieces of yarn of the same length together at one end and start braiding the threads. Tie another knot at the other end and cut off the excess ends. Repeat the process twice so that you have a total of three braided ribbons.
- Cut ribbons in different colors and materials (e.g. leather, satin or silk) to the right length.
- Now tie all the ribbons together with the braided ones using a thread. Cut off the long ends.
- Apply jewelry glue to the caps of the clasp and press the knotted ends of the ribbons firmly into it. Leave to dry well. Your DIY bracelet is finished!


