What you need:
- Cordless drill
- Cordless jigsaw
- Table with removable top
- MDF board
- Hinges
- Color
- Glued and squared timber
- nails
- Wood screws
Cost: around 50 euros (without machines)
Build your own dressing table Step 1: Saw out the table flap
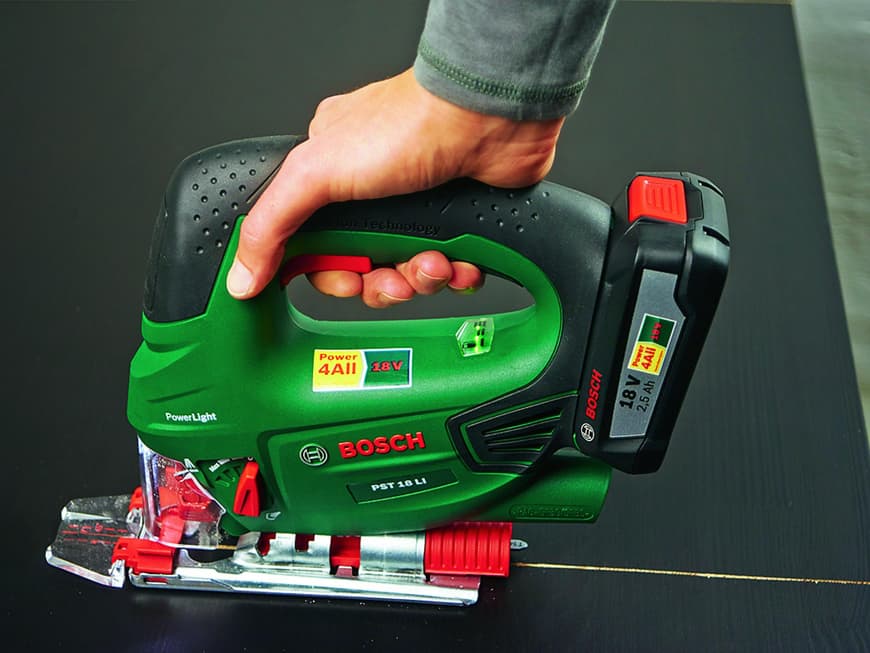
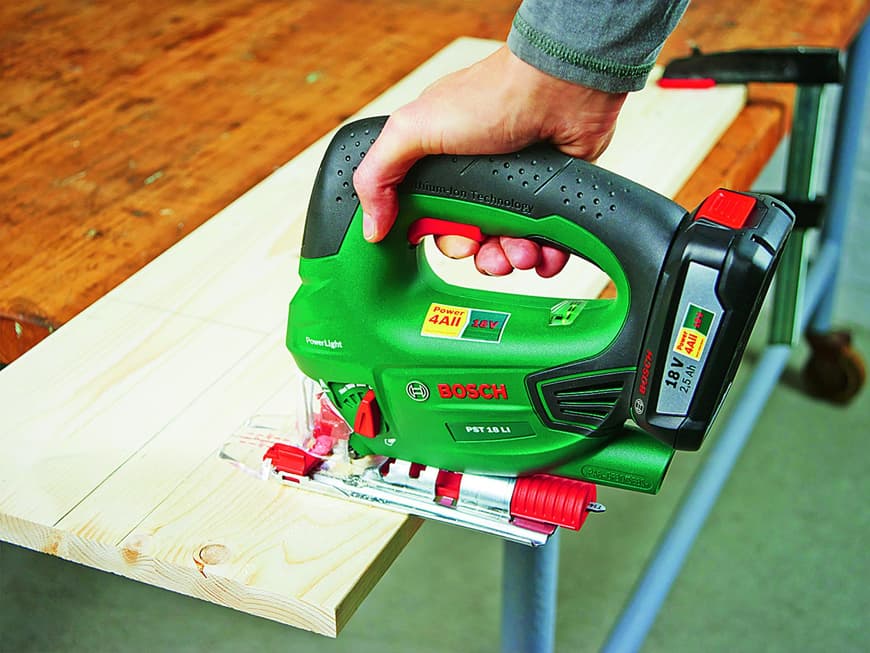
Before you start, unscrew the table top from the base frame. Then, depending on the size of the table, determine the desired dimensions for the base unit. Transfer the units to the center of the tabletop and saw out the flap for the box using a jigsaw, for example from Bosch.
Build your own dressing table Step 2: Attach the flap to the table
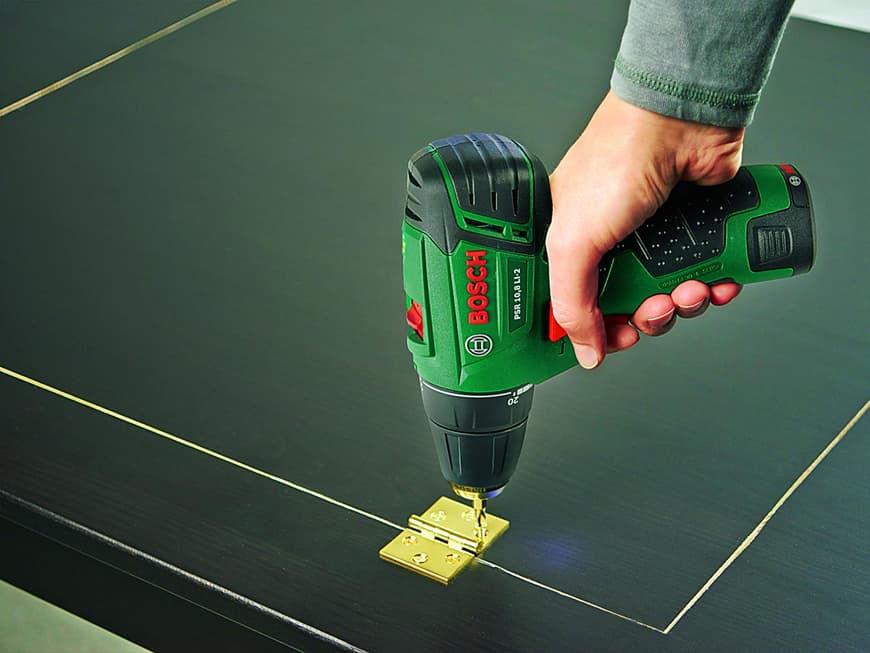
Screw the previously cut-out flap to the table using the brass hinges so that the hinges are on the back of the flap when it is open.
Build your own dressing table Step 3: Saw out parts for the base box
For the base box, cut the base from the MDF board and the four side parts from the glued wood to the size of the flap. The wider the glulam slats are, the deeper the box will be.
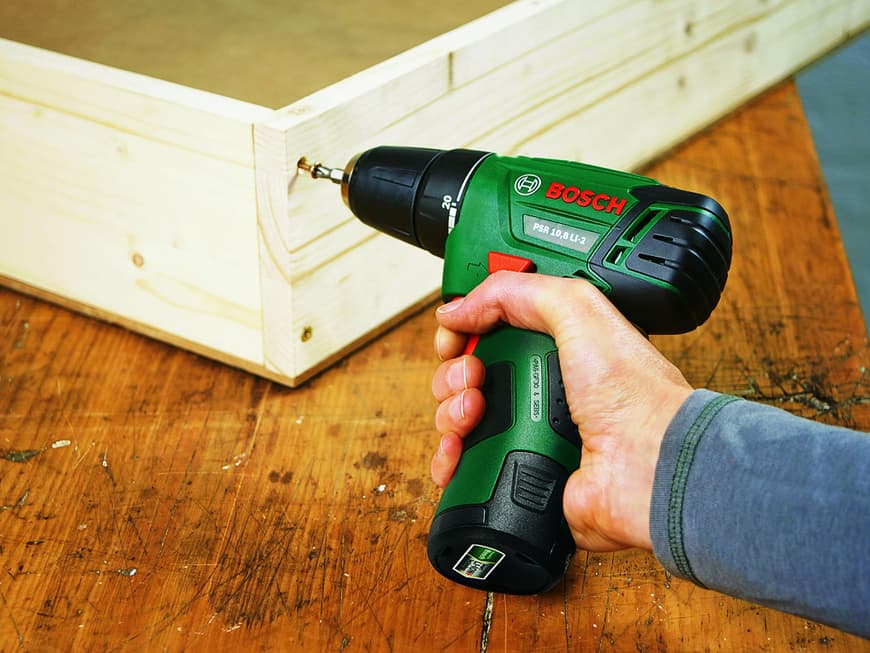
Build your own dressing table Step 4: Screw the side parts together
Using two wood screws each, fasten the parts exactly over the corner so that the box fits exactly into the recess. Place the cut-to-size base on top and screw it to the edge of the side parts.
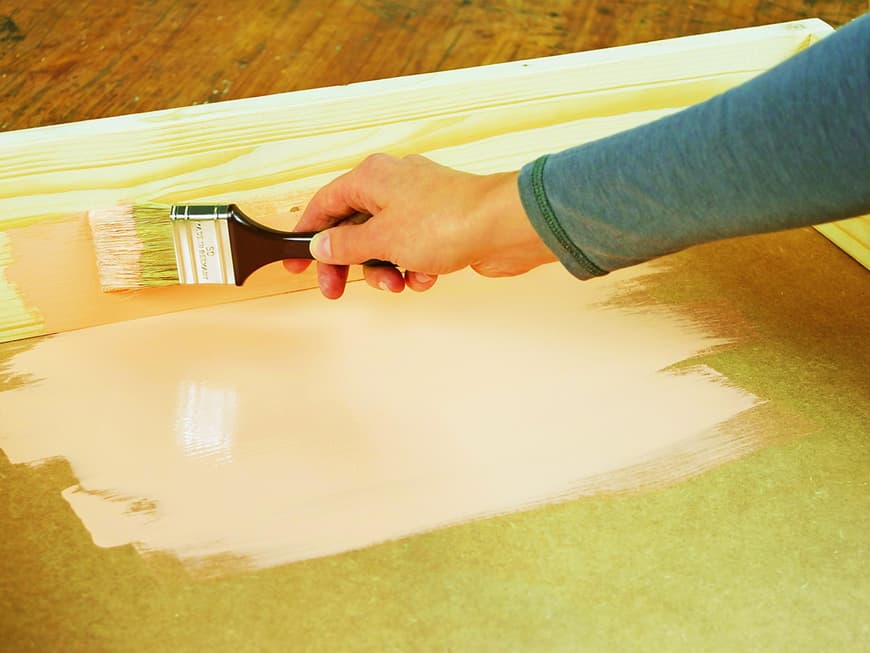
Build your own dressing table Step 5: Adding color
For a special wow effect, you can now paint the finished base box in trendy colors. For a black table, for example, paint the outer sides black as well.
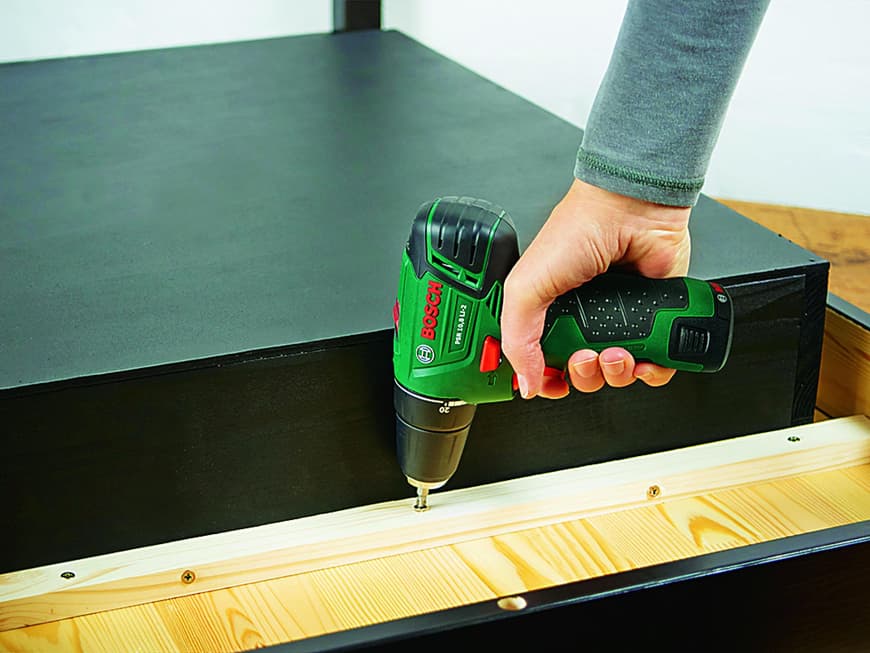
Build your own dressing table Step 6: Attach the squared timbers
While the paint is drying on the base unit, saw two pieces of squared timber to the length of the unit. Then attach them to the underside of the table top along the recess using three wood screws each.
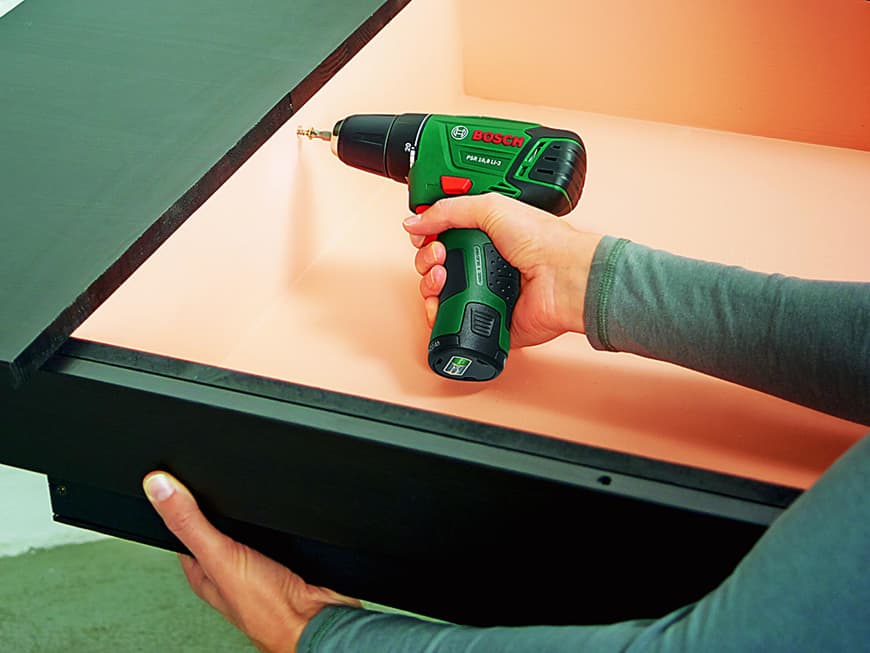
Build your own dressing table Step 7: Insert the base box
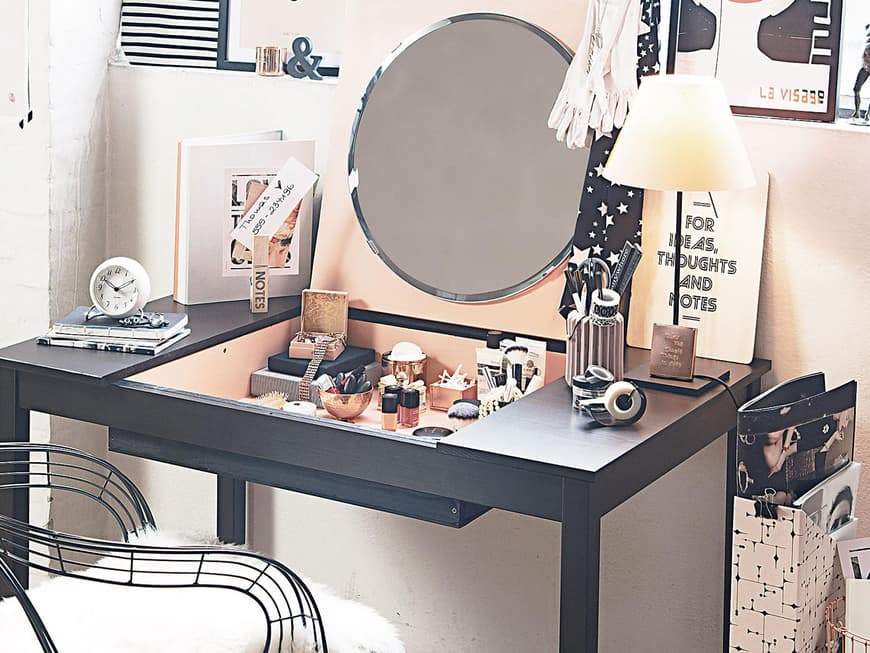
Insert the dried make-up box and screw it to the squared timbers from the inside out. If necessary, mount a mirror on the inside of the hinged panel.

