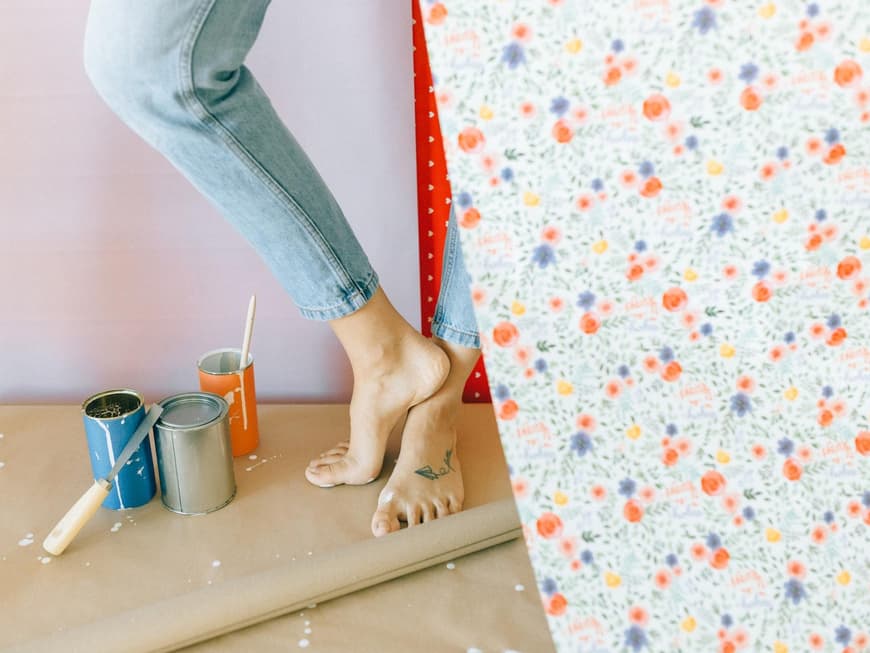
What laypeople most often do wrong when wallpapering
They adapt to the style of your home, you can remove them again if you want to make changes and you can apply them to the walls yourself: Wallpaper has many advantages as a wall design option. Nevertheless, wallpapering can also be a nightmare, as mistakes are difficult to rectify afterwards. When a professional is at work, the job looks so easy. However, not everyone achieves really good results. The fact that the wallpaper fits after professional painting work is down to experience. Even the best master painter has made wallpapering mistakes in his career and learned from them. It's no wonder that inexperienced people often have to live with unsightly ripples or peeling wallpaper after wallpapering. To avoid this, it is best to avoid pitfalls such as
- lack of or incorrect preparation
- wrong tools
- wrong paste
- too short application times
- poor pasting
- unclean work
- crooked strips
1. lack of or incorrect preparation
The wallpaper does not adhere properly. Where it remains on the wall, it appears uneven and even curls in various places. In this case, incorrect preparation is usually to blame. Have you removed all residue from the old wallpaper? Was the surface clean, smooth and free of grease and dust before wallpapering? If you made sure of this, it may be due to a lack of primer. Such treatment with a deep penetrating primer is particularly important for uneven, highly absorbent and sandy surfaces. The primer strengthens the wall and prevents irregularities from shining through. Alternatively, you can apply a fleece carpet pad to prepare the wall. You should fill very uneven walls and substrates such as roughcast, masonry and wood.
2. the wrong tools
The result of wallpapering work is only as good as the tools used. To cut the strips, for example, you need a sharp cutter knife with enough interchangeable blades. Otherwise you risk frayed edges and uneven transitions. Apart from that, you need a rubber roller for smoothing, a wallpapering brush and a sufficiently large wallpapering table. Once this has been taken care of, it all depends on the right technique and the right paste for the wallpaper of your choice.
3. the wrong paste
Not all wallpaper is the same - at least not when it comes to paste. Have you opted for paper or woodchip wallpaper? In this case, you will need a different paste than for non-woven and other textile wallpapers. The exact type you need depends on the individual case. Therefore, always read the manufacturer's information on the wallpaper packaging and buy the recommended products. Skimping on quality here is a big mistake.
4. too short an application time
Are air pockets forming under the wallpaper or does the wall look wrinkled after wallpapering? This phenomenon is usually due to short application times of the paste. Therefore, always read the wallpaper packaging to find out how long you should soak the strips. Without the required soaking time, wallpaper will continue to expand on the wall, resulting in wrinkles and bubbles.
5. poor pasting
Even the best paste and the optimum soaking time won't help if you don't paste the wallpaper properly. To avoid stress seams later on, it is better to paste thoroughly and evenly. The warmer it is, the more paste you need. Caution: However, it should not be too much. Dripping wallpaper will lead to new problems.
6. messy work on sockets, light switches and skirting boards
Some areas can cause problems when wallpapering. In addition to skirting boards, these include sockets and light switches. It is often the case that work here is not done cleanly. To avoid having to cut them exactly to size, it is better to remove trims and strips. You can conceal the transitions later.
7. crooked tracks
Starting from a corner, work your way along the wall strip by strip when wallpapering. The first edge must be vertical so that the strips really sit. Only then are right angles really right angles. A small deviation in the first edge often leads to increasingly crooked subsequent strips. Unfortunately, meaningful corrections are no longer possible once all the strips have been glued. Therefore, always use a spirit level or plumb line to ensure that your first strip is a true right angle.
Expert tip for wallpapering without a spirit level : If you don't have a spirit level to hand, make a plumb line from a nut and thread. If there are two of you, one of you can hold the thread against the upper wall. As soon as the end of the thread comes to rest, the second person marks the right angle.


