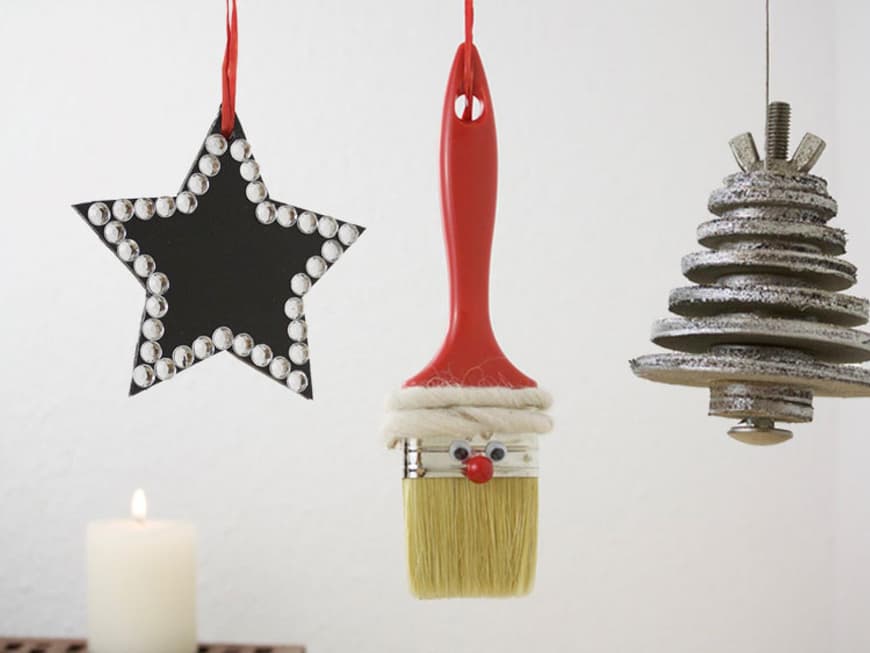
That's why we're now presenting you with three cool ways to spice up your Christmas tree. With the help of Twercs tools, you'll have the most individual and creative decorations this year. Have fun with your Christmas crafts!
Christmas decorations for three pendants
Claim
1
Assembly
Approx. 1-2 person
Time required
Approx. 1 hour
Twercs tools in use
- Cordless drill driver
- Cordless hot glue gun
- Cordless jigsaw
Twercs accessories in use
- 4 mm drill bit and 6 mm drill bit
- Saw blade SW103 S "Clean Laminate Wood" and SW104 S "Clean Curve Wood"
Tools
- If necessary, templates for Christmas shapes (e.g. star, shooting star, moon)
- Pencil
- Screw clamps
List of materials
- paintbrush
wood
- 1 x plywood panel 300 x 400 x 5 mm
- 1 x PVC panel 300 x 500 x 5 mm (color as required)
Fastening material
- 1 x countersunk threaded screw 6 x 80 mm with matching wing nut
Accessories
- Decorative "eyes" to stick on
- Rhinestones
- Felt ribbon
- Wooden ball in red
- Decorative ribbon
- Optional: glitter, colored paint
1. santa claus
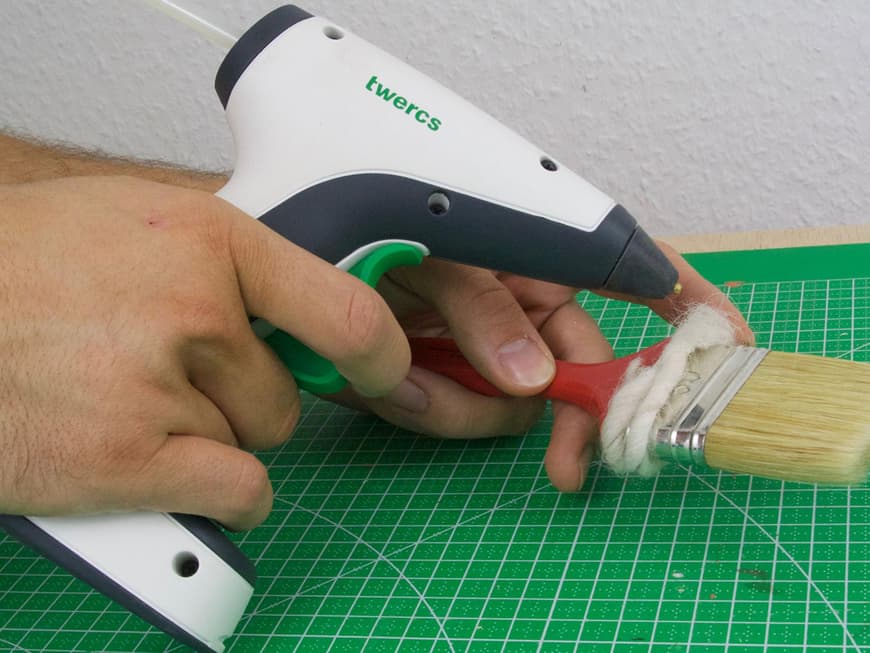
1. first use the cordless hot glue gun to glue the felt ribbon to the metal band of the brush, i.e. between the brush hairs and the brush handle. Please make sure that the very hot glue does not touch your fingers when gluing.
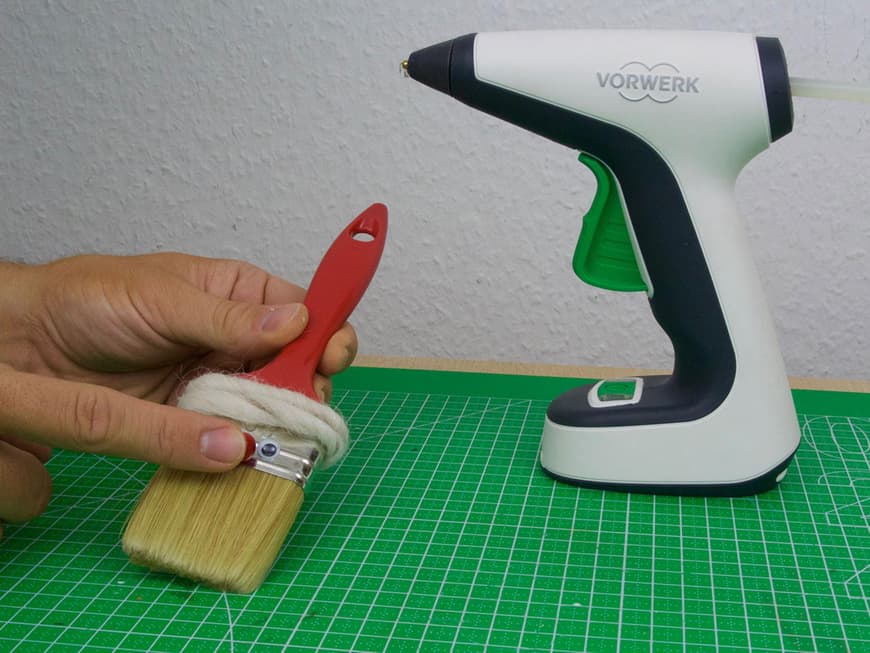
2 Then glue the eyes and nose underneath the felt band on the metal banderole. Use the red wooden ball for the nose.
3. when the glue has dried, you can now thread the decorative ribbon through the hole at the end of the stem so that the Christmas tree can be attached for decorating.
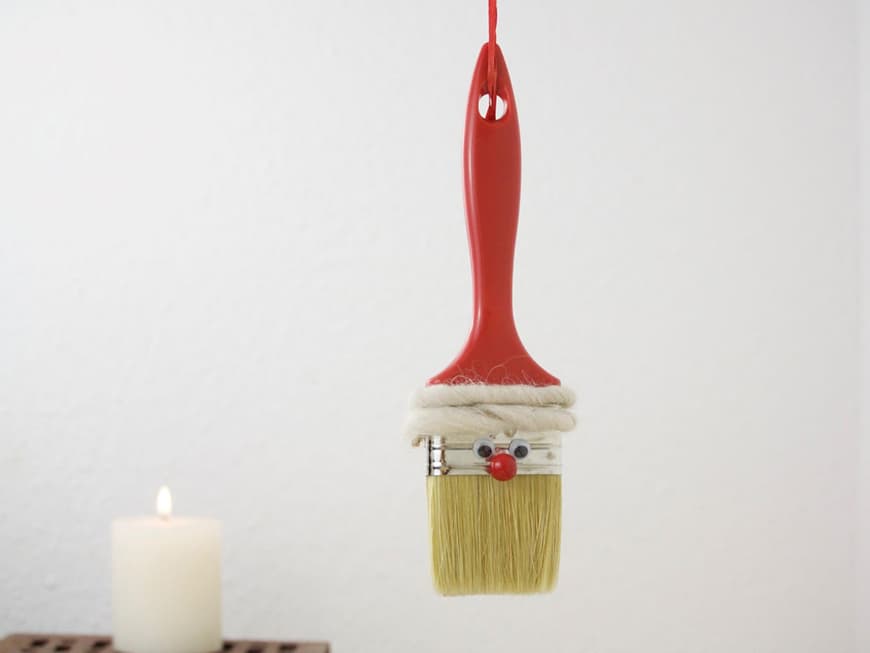
Tip: If desired, the brush handle can be further decorated, e.g. with white dots or rhinestones.
2nd pine cone
Material: 1x plywood board, 1x threaded screw
1. first draw seven circles of different sizes on the plywood board and mark a drilling point in the middle of each circle. Then mark another seven circles in the diameter of the smallest circle. Then saw out all the circles with the cordless jigsaw. Please use the "SW104 S" saw blade. Now drill the marked hole in all the circles using the 6 mm drill bit. Then sand all the edges of the circles thoroughly with sandpaper.
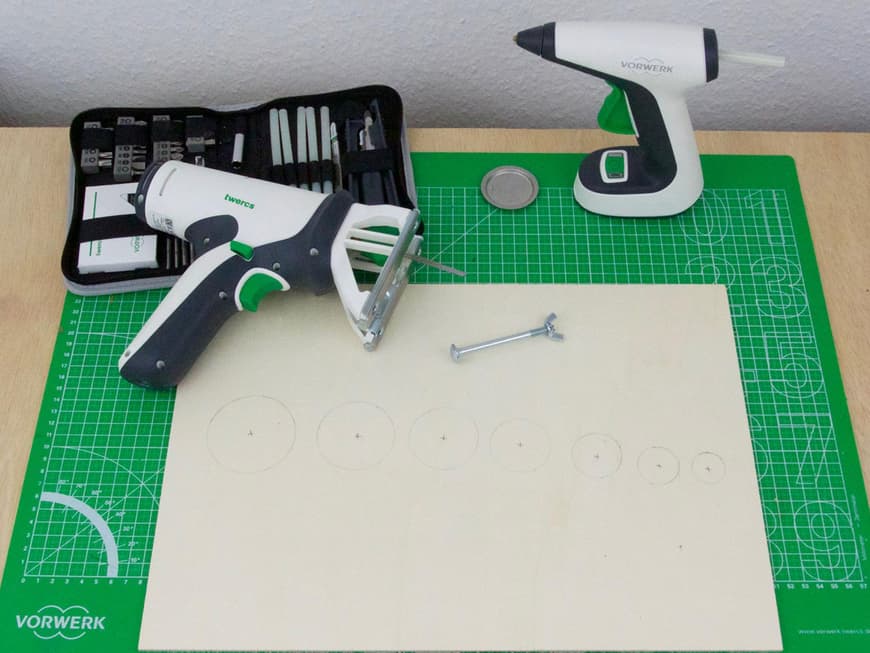
2. place the finished circles on the threaded screw and tighten the wing nut. Start with the two smallest circles and then use increasingly larger circles. To create a gap between the circles of different sizes, always place one of the seven small circles between them.
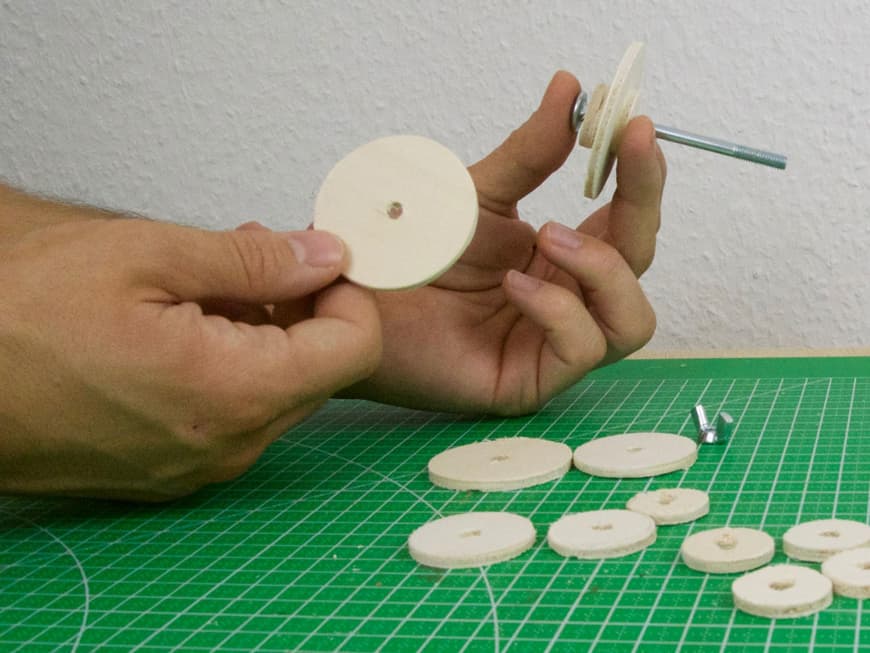
3 Finally, fix the wing nut with a drop of hot glue so that it cannot come loose.
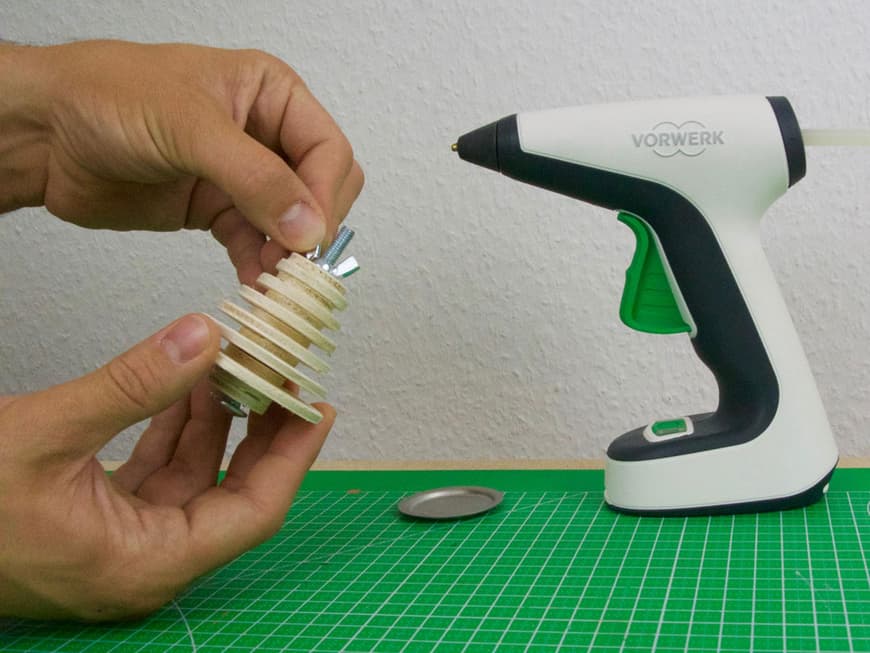
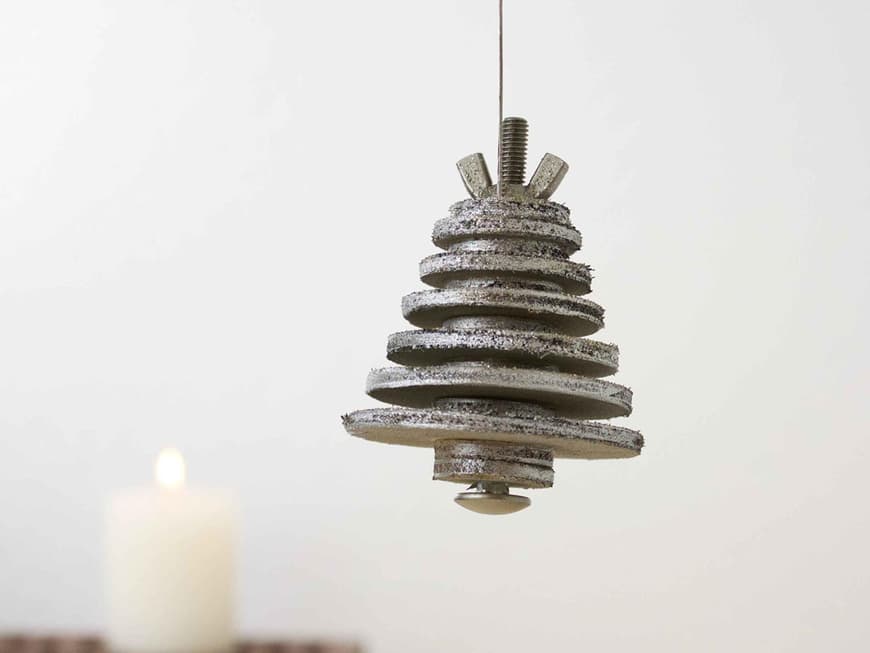
Tip: If desired, the pine cone can be further decorated, e.g. with colored paint and glitter.
3rd star
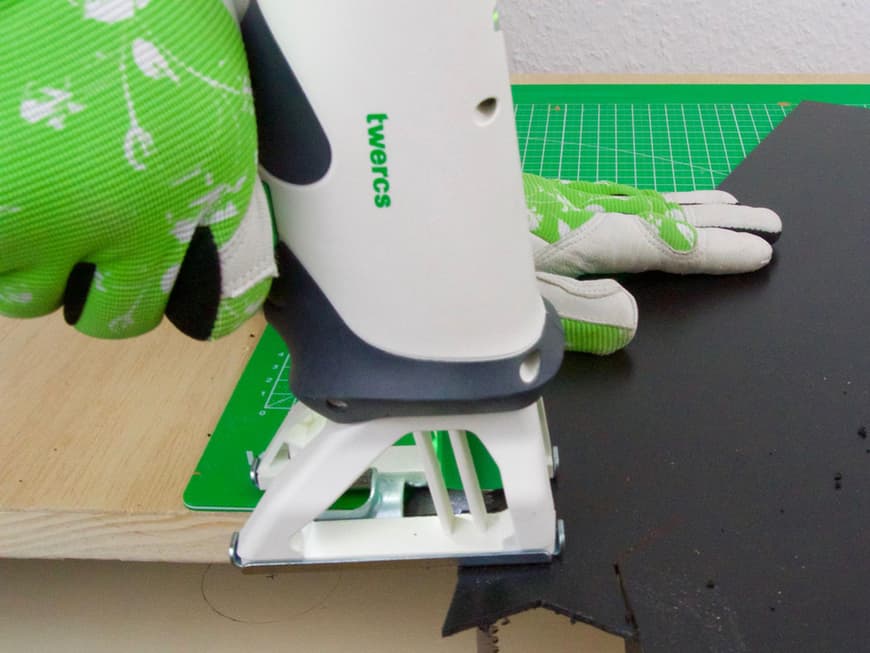
1. first draw as many Christmas shapes as you like on the PVC sheet. Then saw out all the shapes with the cordless jigsaw. Please use the "SW 105 S" saw blade for this. Drill a hole in all the shapes using the 4 mm drill bit, making sure that the hole is close to the edge. Then sand all edges thoroughly with sandpaper.
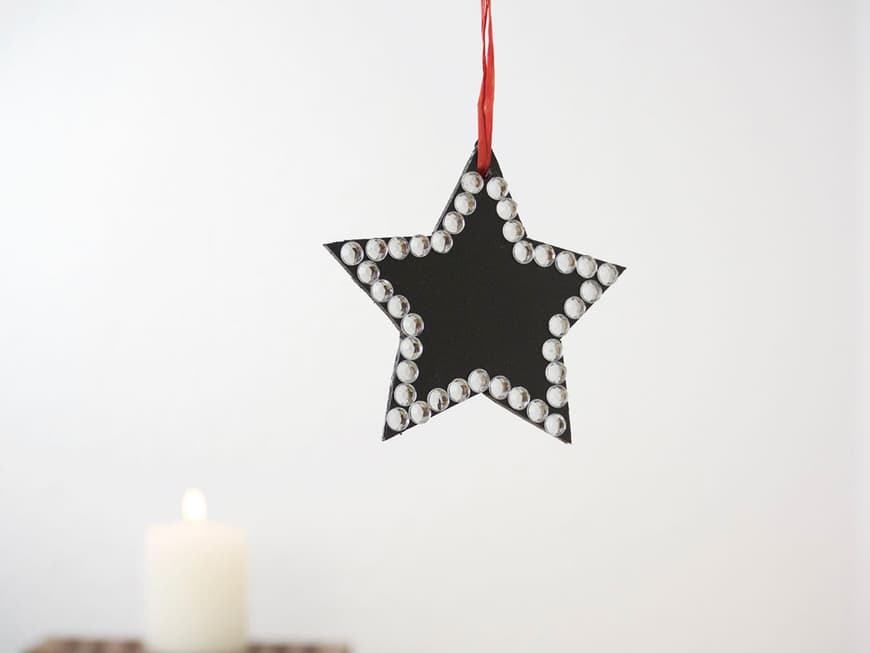
2. now glue the rhinestones to the cut-out shapes using the cordless hot glue gun. Your sparkling Christmas tree decoration is finished.
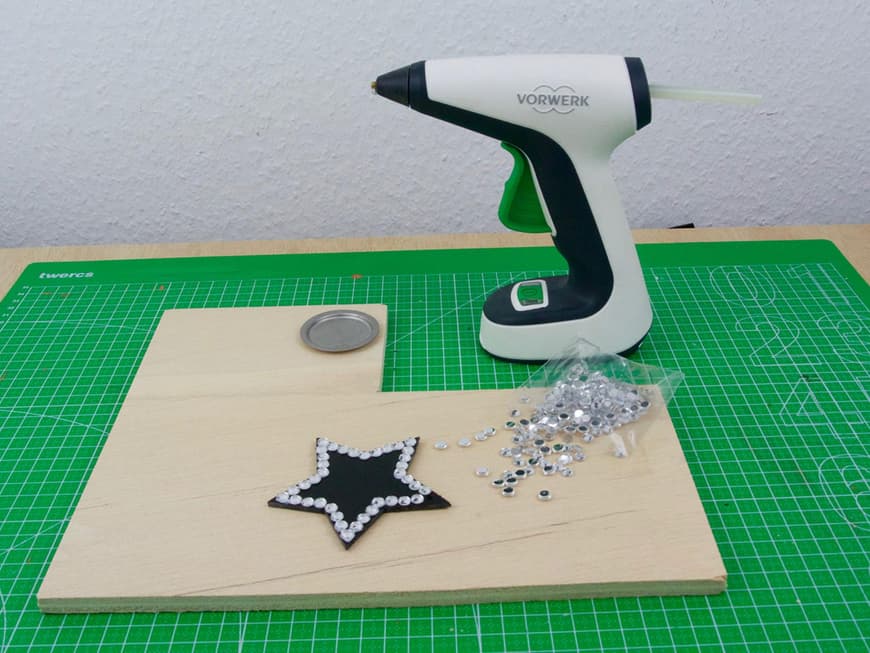
Please ensure that the very hot adhesive does not touch your fingers when gluing. Tip: Use tweezers.
More great DIY projects for the whole family
What could be more fun on a rainy Sunday afternoon than getting crafty and tinkering? Let the Twercs Idea Book 3 inspire you. Here you will find great creative projects with upcycling materials to recreate from the areas of Outdoor, Kids, Animals, Living and Specials as well as lots of tips and tricks for DIY - fun for the whole family!


